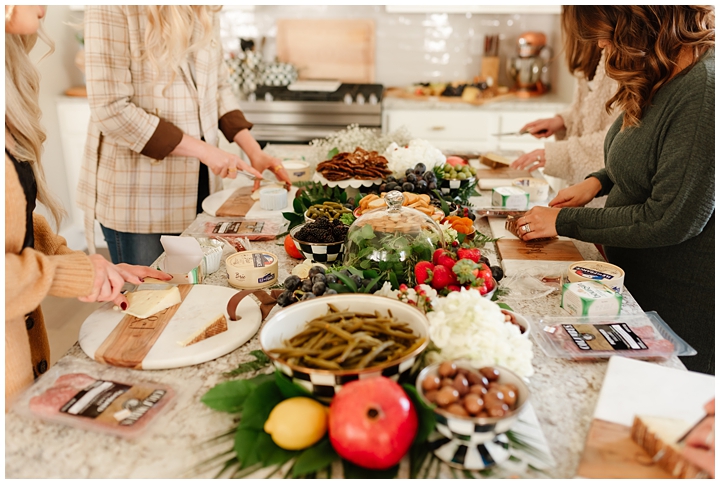
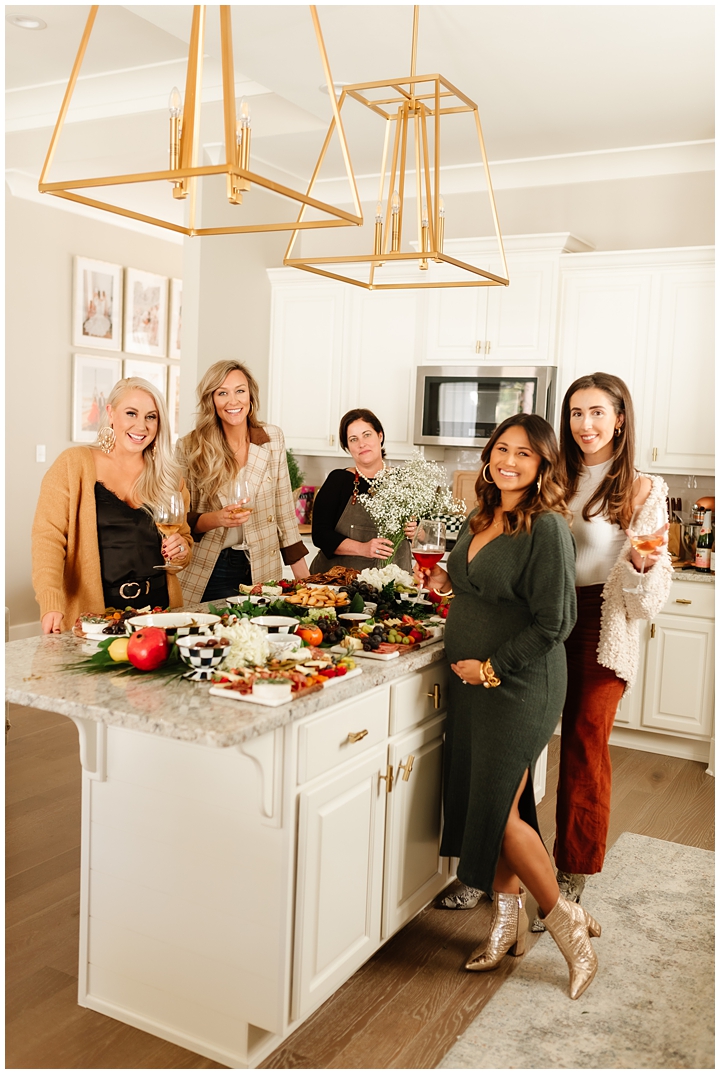
Happy Friday friends! I can’t believe New Year’s Eve is just next week. I know I showed you how to put together beautiful cheeseboards for the holidays on my Instagram stories, but I figured I would put all of the information in a blog post too. If you watched my stories, then you know that I hosted a wine & cheeseboard making party and partnered with local party board enthusiast, Noelle of Snacx to give us the scoop on all of her cheeseboard essentials. Noelle sources her cheese from all over the world when she creates her professional boards from scratch for catered events, but I had her tell us her grocery store go-tos for those times when we have to have whip up something quick for guests.

I hope you find all of the these tips helpful the next time you find yourself whipping up a cheese & charcuterie board for an impromptu gathering at your house.
How to Assemble a Beautiful Cheeseboard:
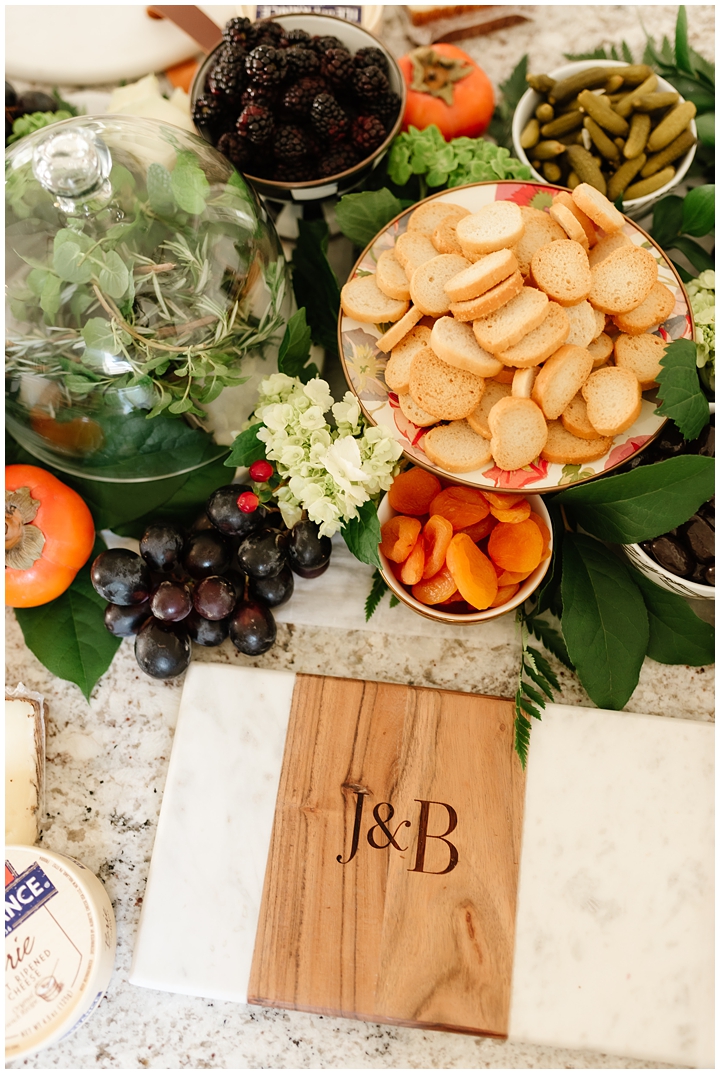
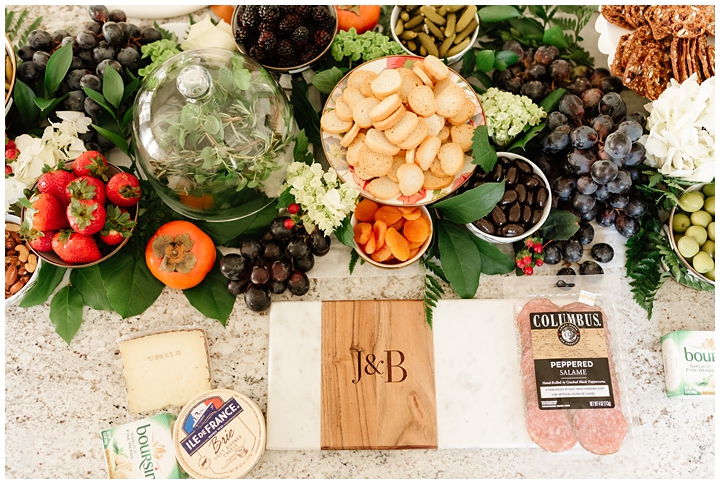
First things first! Get yourself a pretty cheeseboard to display all of your snacks on. I got all of my party guests these beautiful personalized cheese boards from Mark & Graham to take home with them. These personalized marble and wooden cheese boards make great hostess gifts. I also recommend treating yourself to one to make entertaining guests at your house more fun.
| Shop Personalized Cheeseboards |

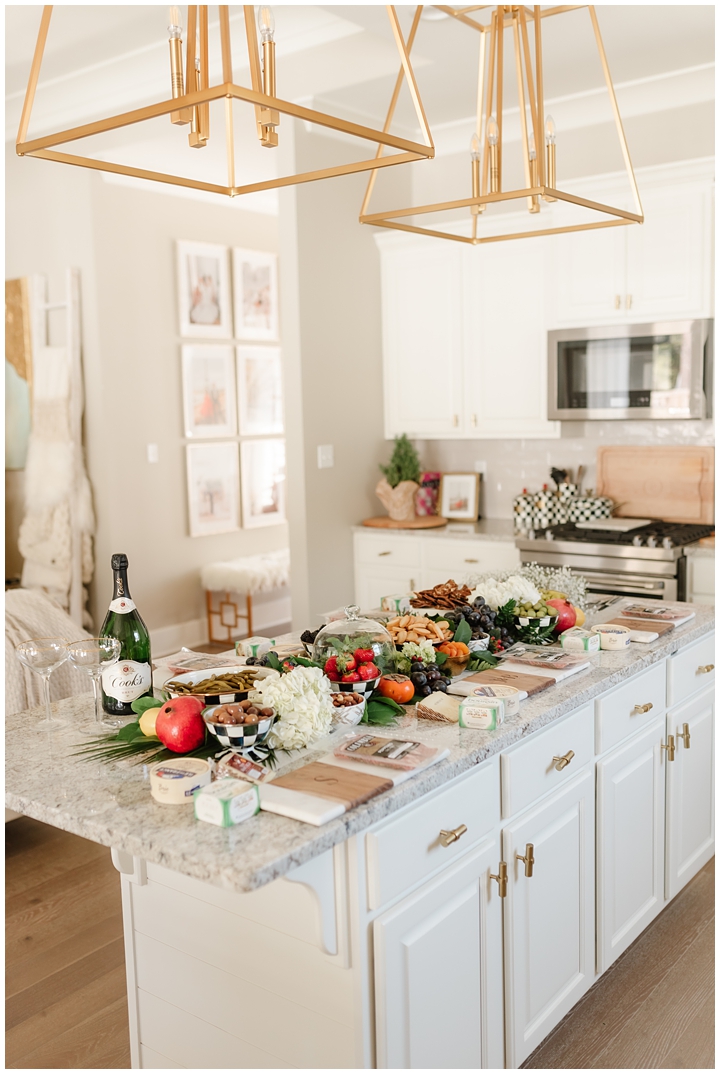
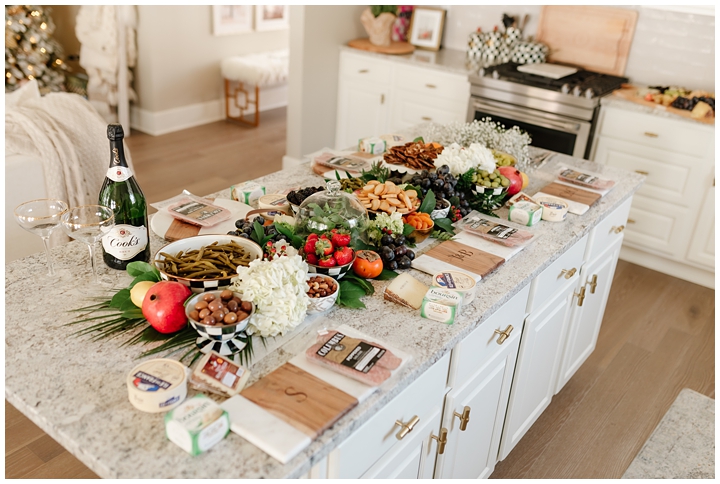
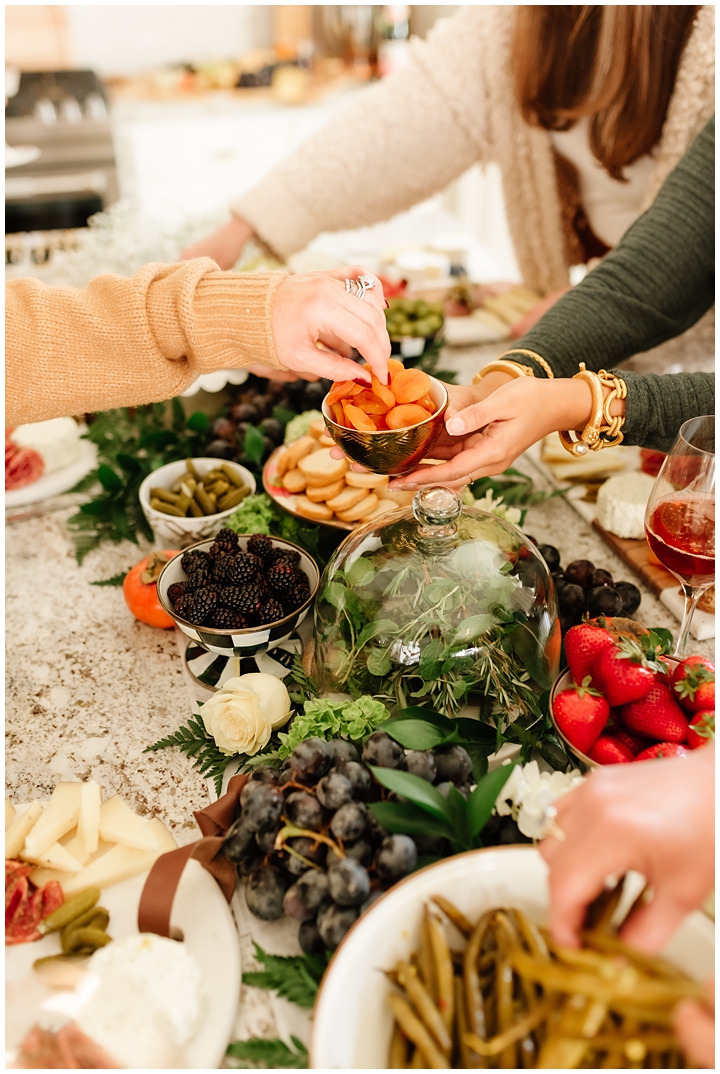
When you find yourself having to whip up a cheese & charcuterie board for an impromptu gathering at your house and you only have time to stop by your local grocery store, these are the items that Noelle suggests grabbing: cheese, pre-sliced meat, fruit, veggies, nuts, garnishes and crackers of course. Don’t forget wine too or sparkling wine if you’re pregnant like me. Noelle says the top three people-pleasing cheeses are: brie, boursin and manchego. After tasting all of them, I totally agree. Plus it’s nice to switch it up between creamy, semi-hard/hard, and aged along with different shapes.

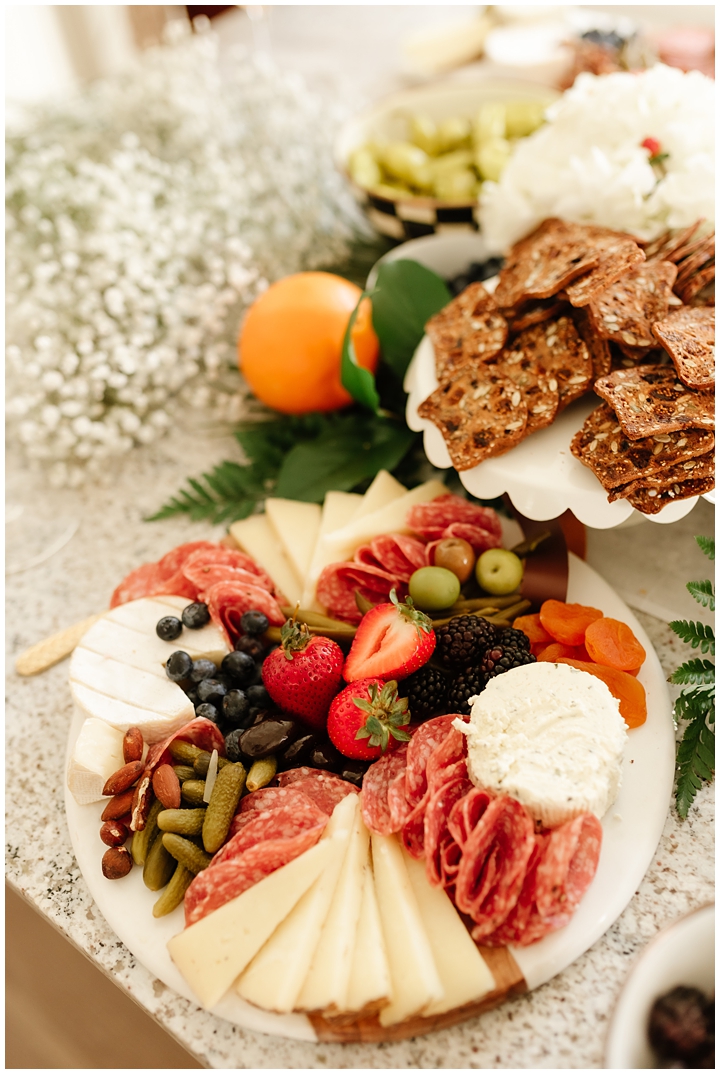
One you have all of your board ingredients together, Noelle says to slice your manchego cheese to spread across your board for a more decorative look. Next take your brie out of the container and cut a small triangle slice out of it before placing on your board. Leave your boursin cheese whole, but be sure to remove all of the foil.
Once you have all of your cheese set on your board, start adding your meat. We used salami slices, but I also like prosciutto too. Noelle showed us how to fold the meat to look like little flowers on our boards. You can see how to do that on my Instagram stories under my highlights.
Here is an example of how we folded the meat.
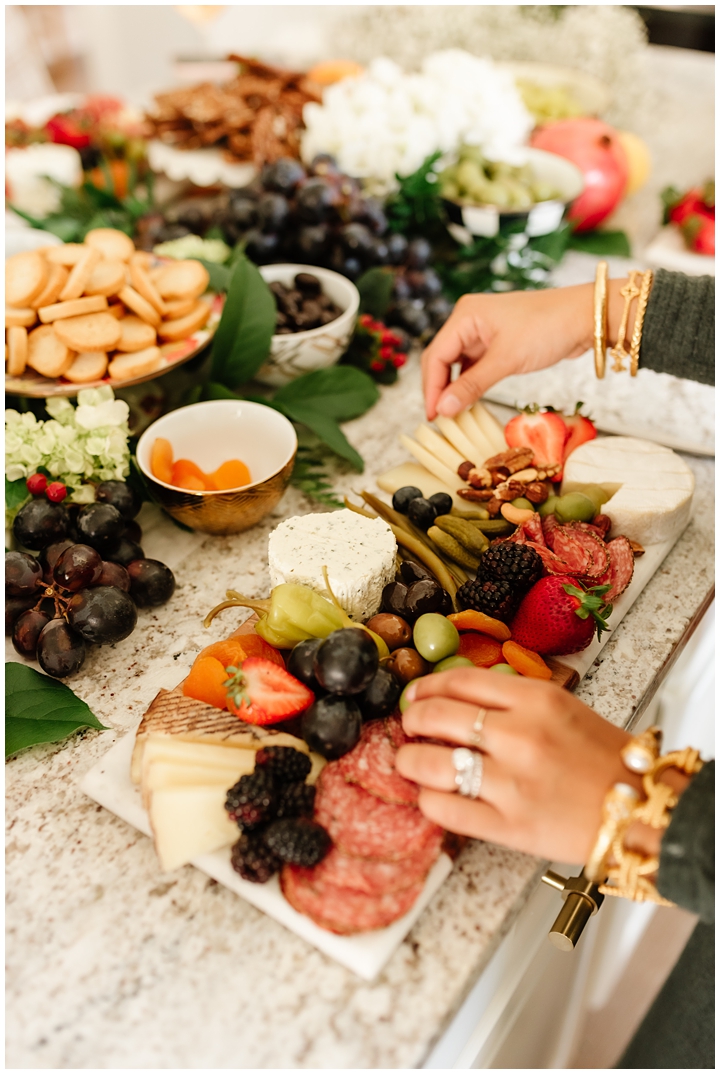
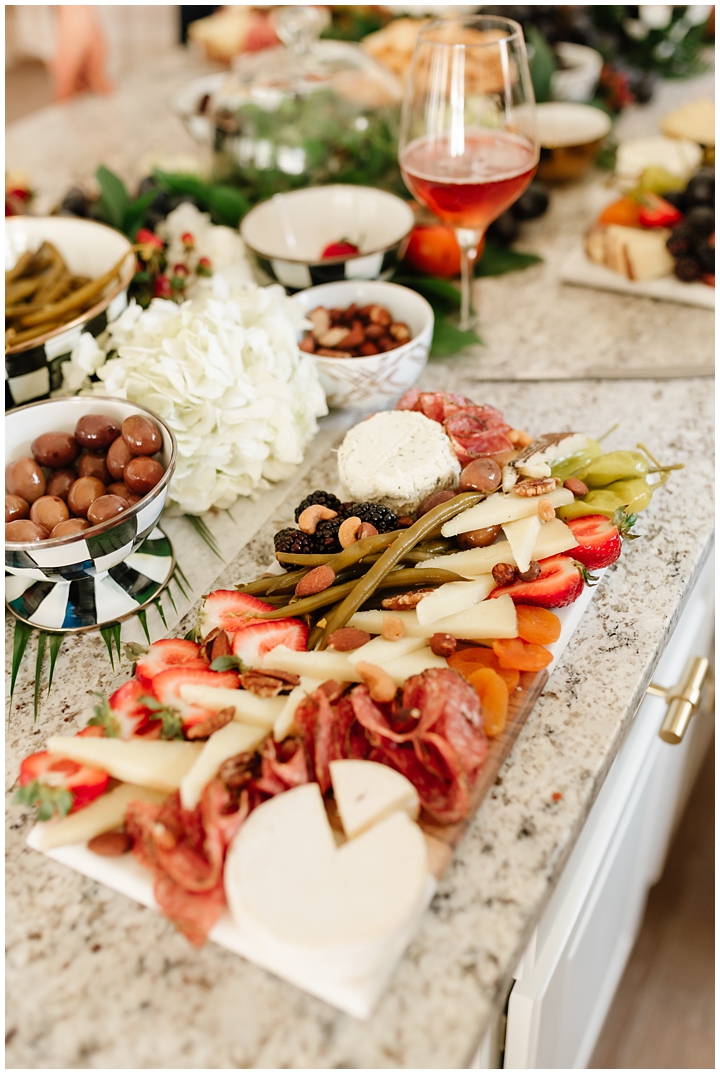
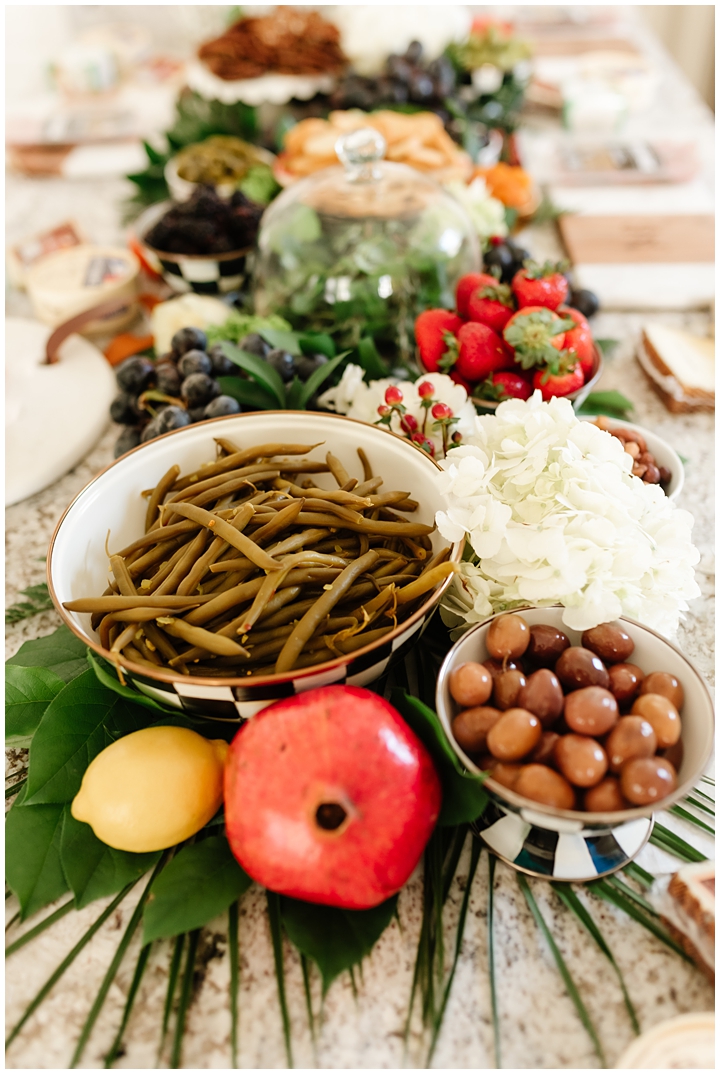
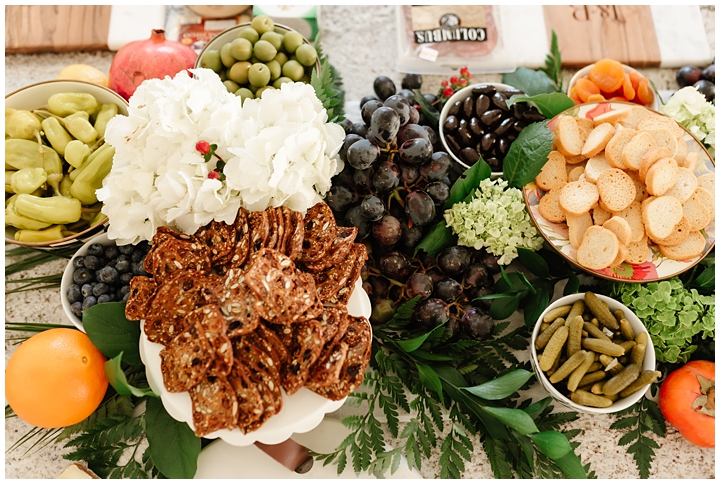
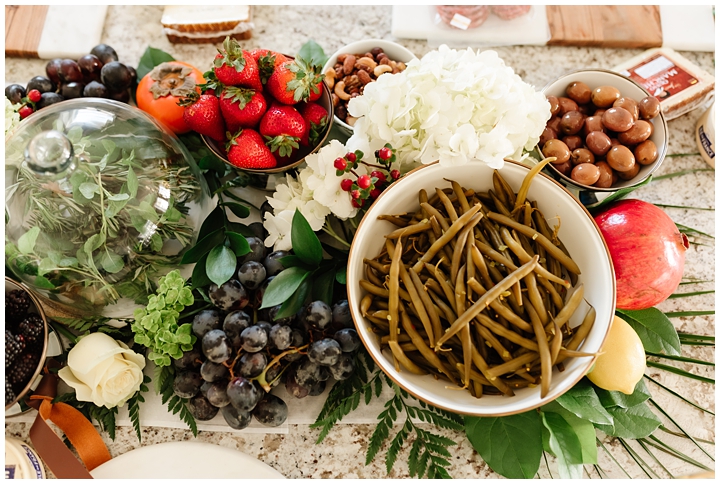
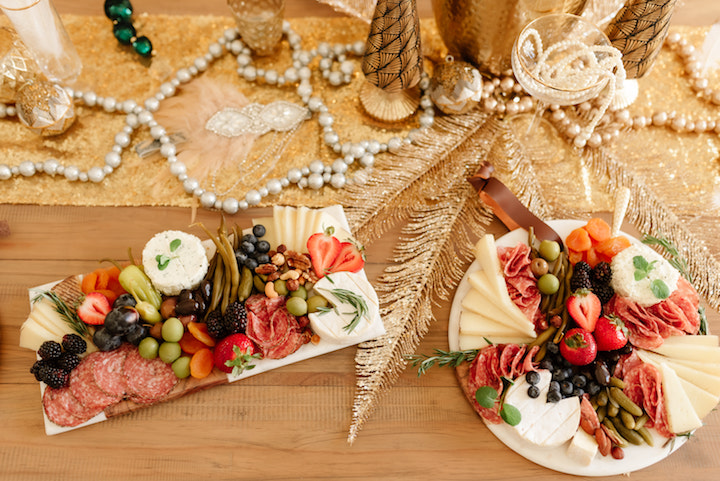
After your board is full of meat and cheese, the fun begins! Start adding your veggies like pickled green beans, olives, peppers and cornichon (aka mini pickles). Next add fruit, like grapes, strawberries, blackberries and raspberries. You can even use apples or peaches or dried fruits to add more color to your board. Color-play is key to a beautiful board. Small ingredients like nuts and chocolate covered almonds help to fill the empty gaps on your board.
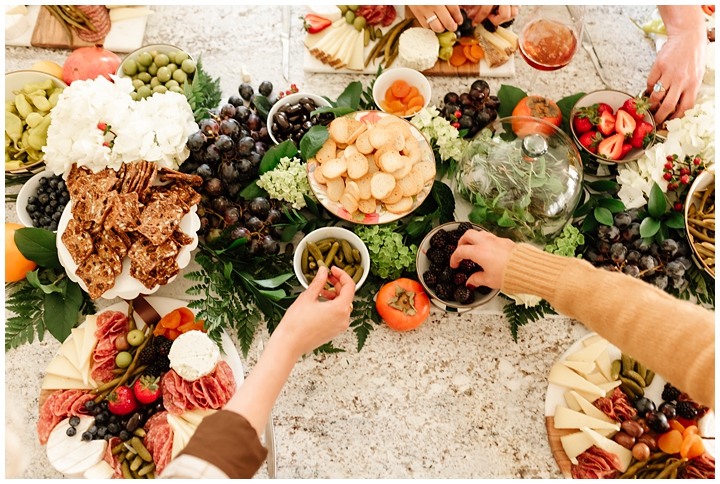
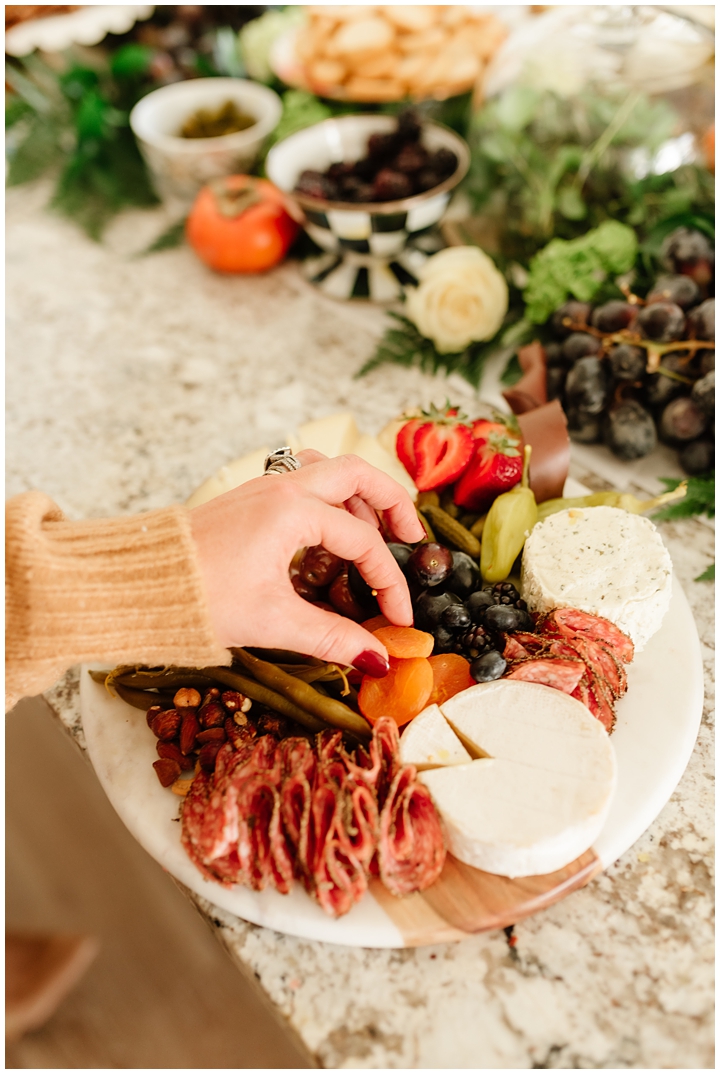
Last, but not least, garnish your board with flowers or greenery. We used rosemary and mint leaves. The garnishes really make your board feel complete. As for the crackers, if you’re working with a small board, display your crackers in different bowls around your cheeseboard.
When it comes time to serve, keep in mind that cheese tastes best at room temperature, so take it out at least an hour before guests arrive. Don’t forget to leave out a different knife for each type of cheese.

| Shop My Look |
Outfit: Cozy Ribbed Midi Dress (wearing sz S) | Gold Hilty Booties | Gold Hoop Earrings | Julie Vos Olympia Bracelet |Paris Demi Hinge Cuff