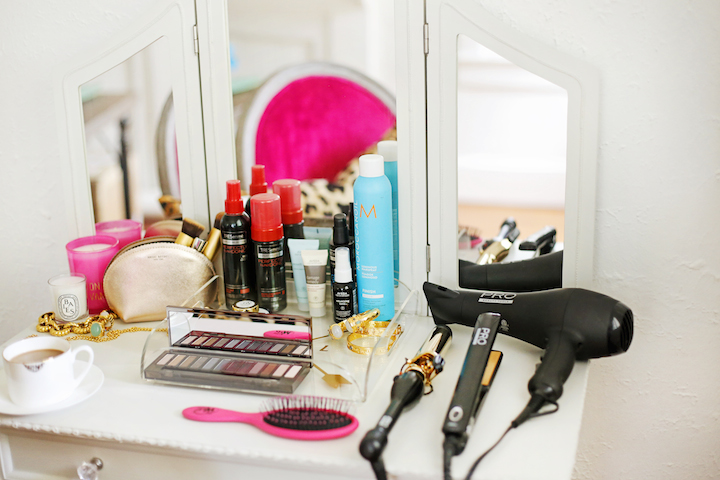
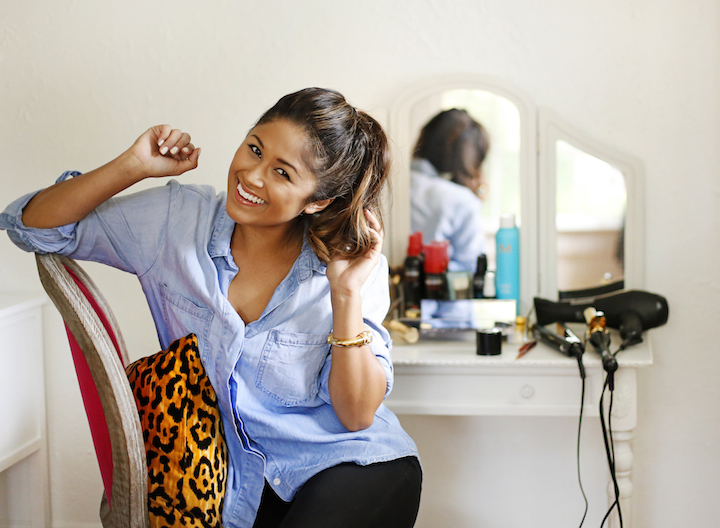
How to get the perfect ponytail: I rarely ever wear my hair up, but when I do, it takes quite the routine along with a cluster of hair products and tools to get it perfect! The routine usually consists of me pulling it out multiple times and starting all over again, but that is probably because I’m just not using to seeing it up on top of my head instead of around my shoulders. Even though it’s not something I’m used to, I usually get a ton of compliments on the outcome so it always usually ends up being worth all of the time and effort.
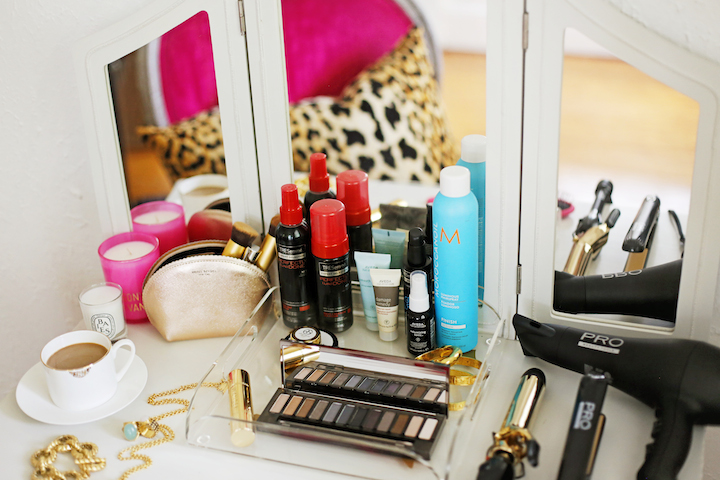
I’m no pro, but thank goodness these beauty tools and are products are, which makes the process so much easier. So I thought I would share my routine and the products I use with you. Keep in mind that I have very fine and straight hair so you may not need all of the products that I use or you may want to swap them out for a different type of product. However, most of these products work well with all hair types and obviously the Pro Beauty Tools hair dryer and curling iron work for everyone. I especially like the curling iron because I don’t like to use much hair spray and I can get away with that since the gold plated barrel provides direct heat for 24 hour curl lock.
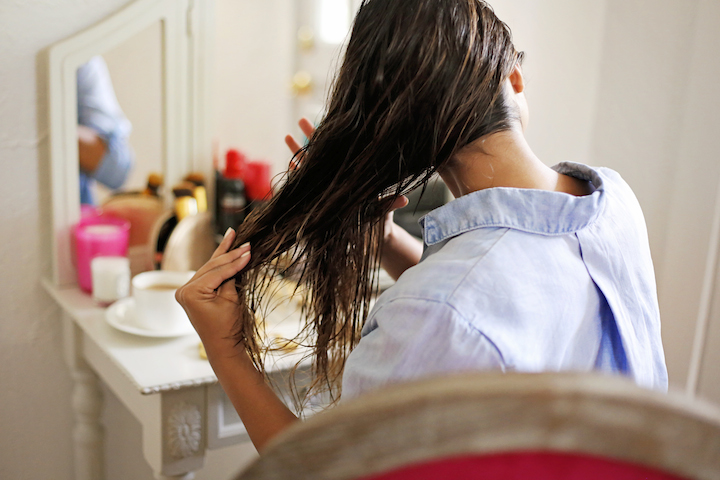
1) I rinse my hair with with Kerastase Bain Cristal Shampoo and condition with Kerastase Lait Cristal Conditioner. I really like this conditioner for my hair because it works to hydrate and smooth dry ends, which I tend to have a lot of from hot tools and recently coloring my hair.
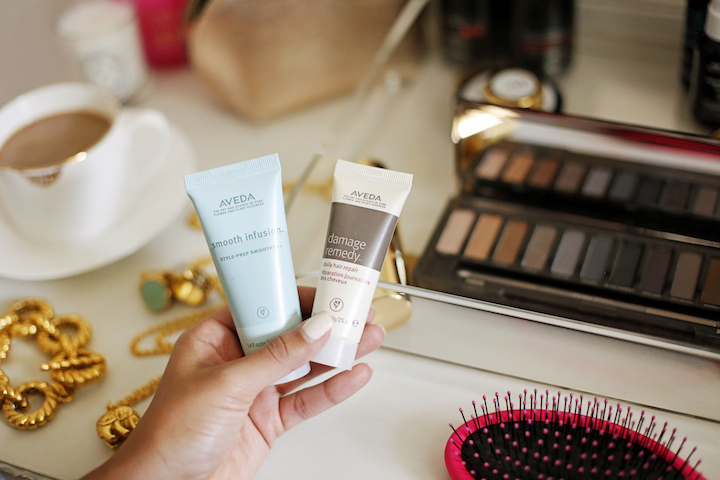
2) Next, I apply a pea size amount of the Aveda Smooth Infusion Style-Prep to my whole head starting with the ends. Then I take the same amount of Aveda Damage Remedy and run my fingers through my ends for extra moisture. After adding those 2 products, I brush my hair with a Wet Brush, which is the only brush I can use now after trying it out. I’m not even exaggerating! I am Wet Brush obsessed because it doesn’t resist tangles so it glides so soft and smoothly through my hair. This brush is especially perfect if you’re tender-headed or have long hair with lots of tangles like me!
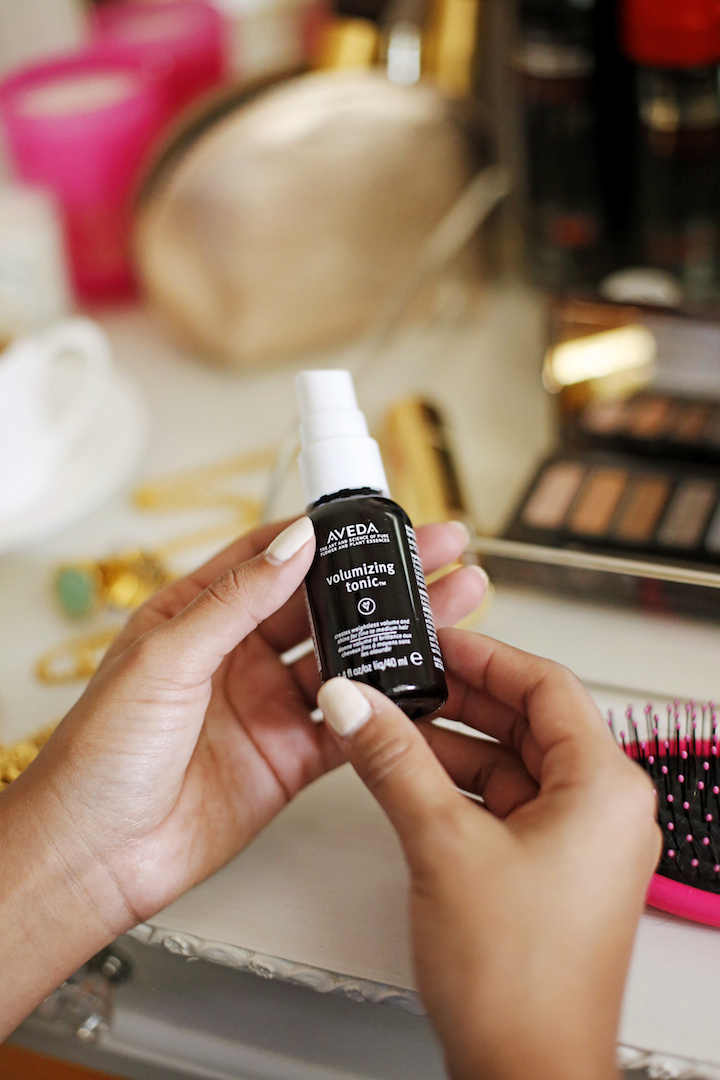
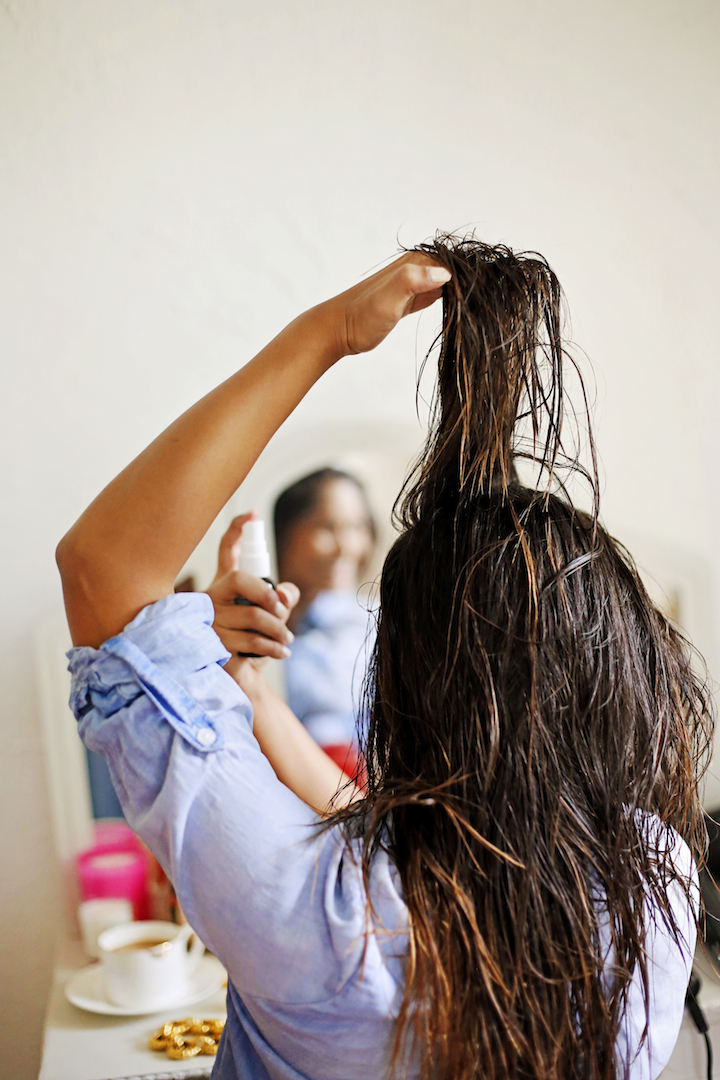
3) Like I mentioned earlier, I have super fine hair so I must go to extreme measures to achieve high volume in my hair. I start by picking up a few sections at the crown of my head and spraying Aveda Voluming Tonic at my roots. Then I make to work my fingers through my hair in an upward motion to set the product.
4) To create extra volume and texture throughout the rest of my hair I use one pump of TRESemme’s Wave Creation Sea Foam and run my fingers all the way from the roots to the ends.
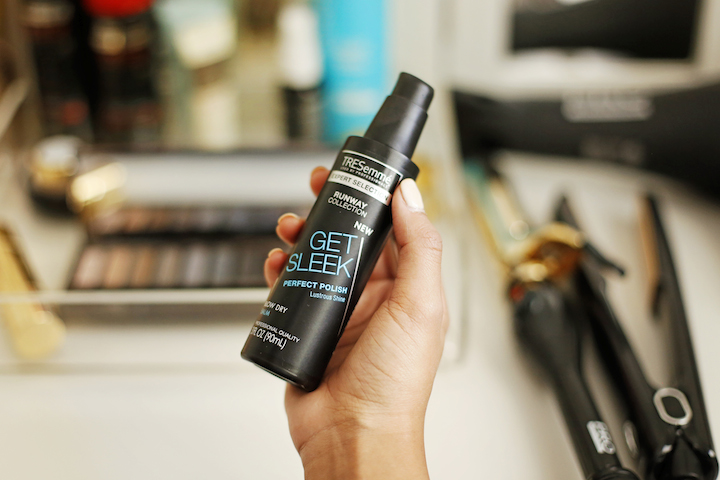
5) Finally before drying my hair, I smooth some TRESemme ‘Get Sleek’ blow dry balm onto my ends to protect my hair from the heat. This is actually a product I always use before drying my hair no matter how I plan to style it.
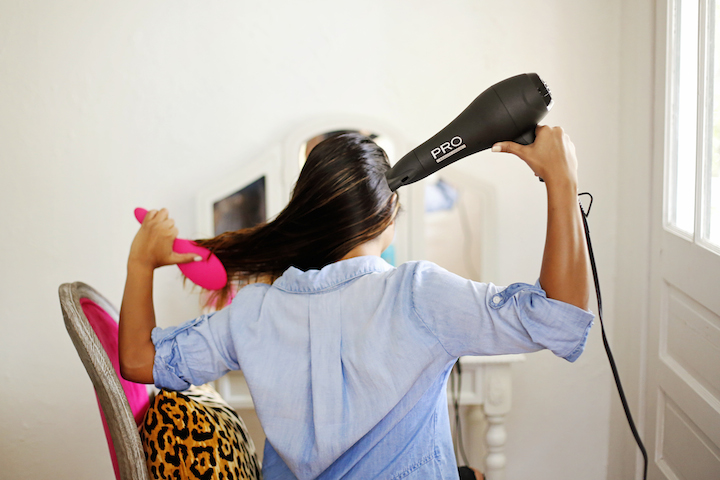
Blowdry Tip: Always dry your hair in a downward motion to keep your hair smooth and frizz-free. Never point the dryer up toward your hair! Also, I reccomend using the Pro Beauty Motordryer. It is an AC dryer so it’s high powered airflow saves you extra time drying which in end means less heat and damage to your hair! Win win!
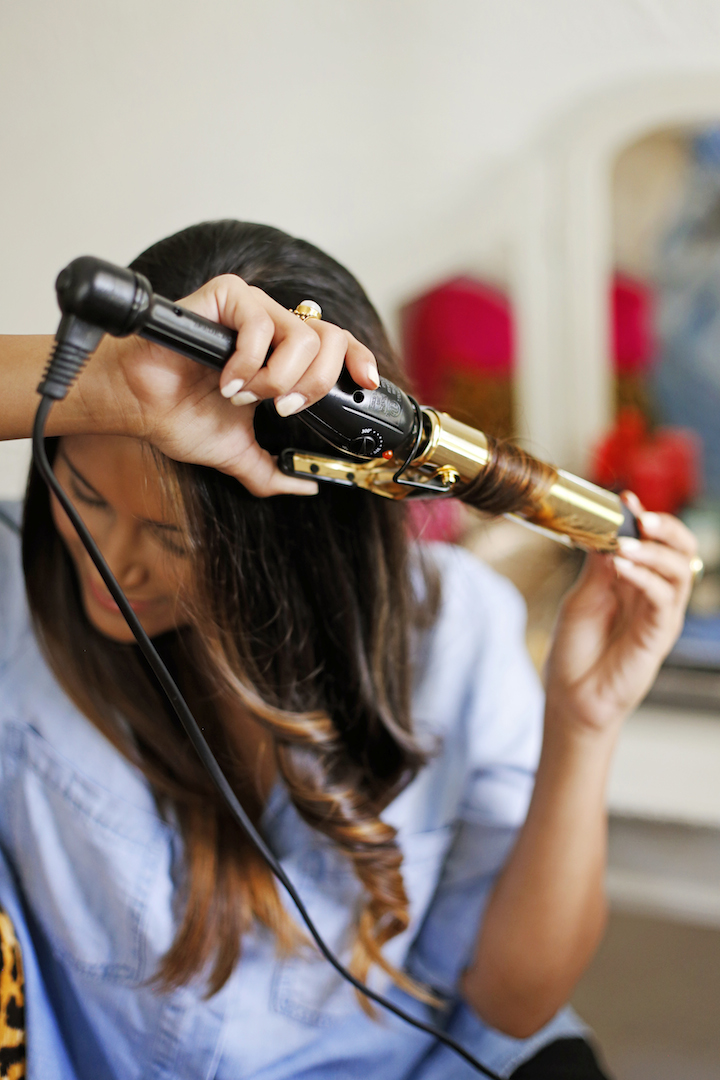
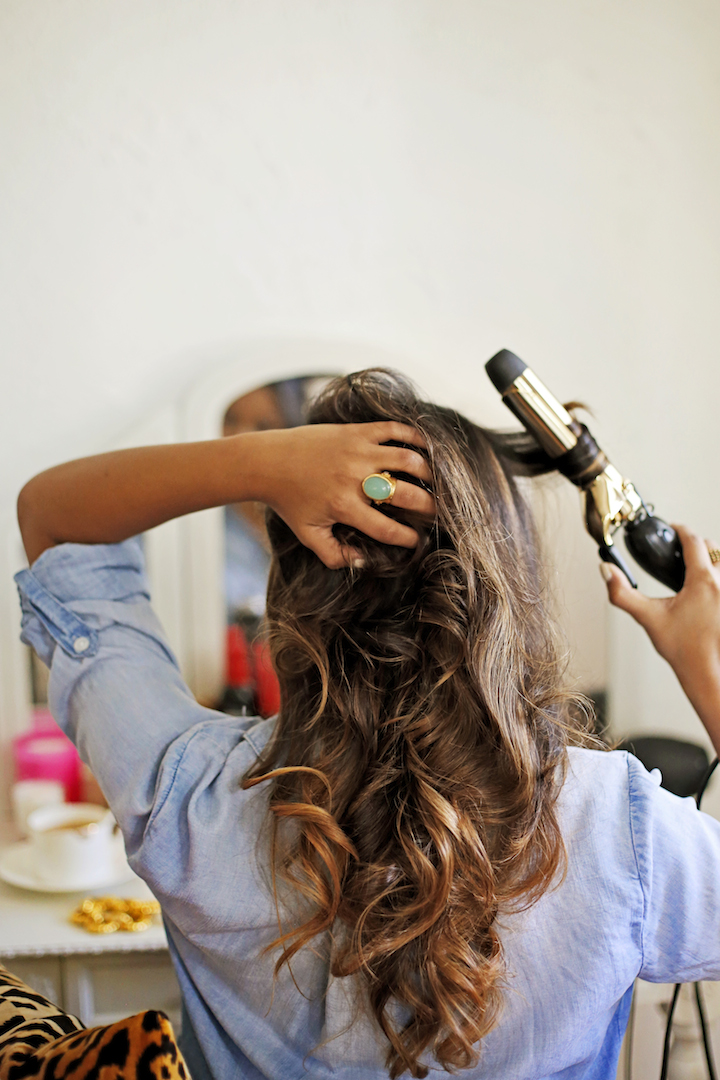
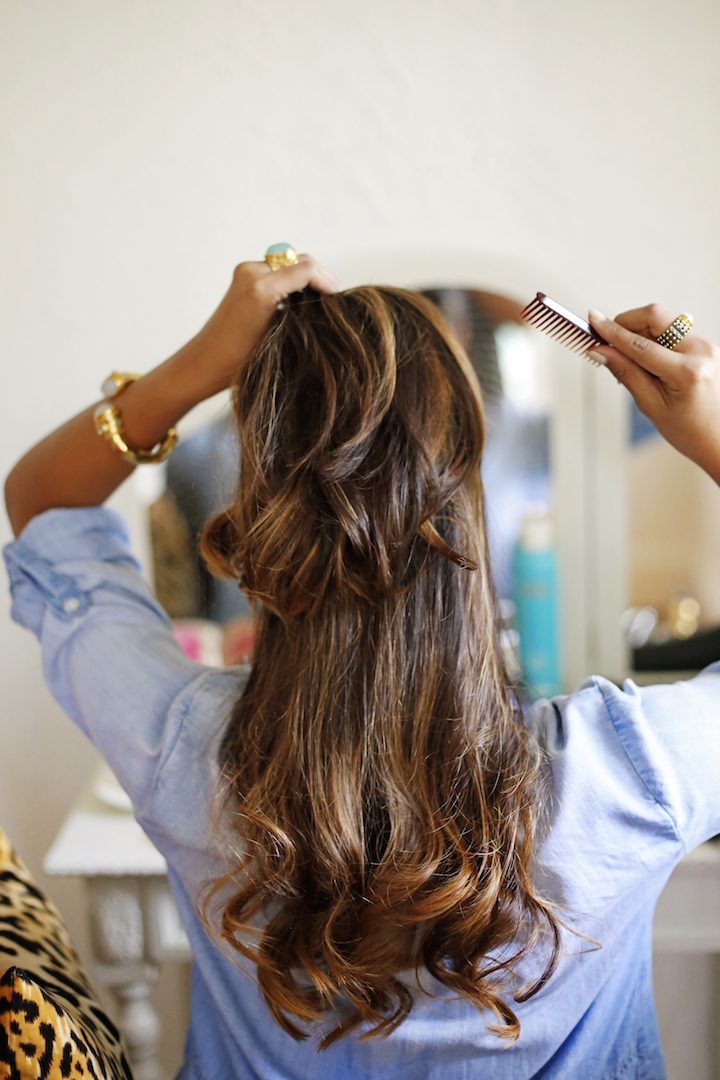
6) Once I finish drying my hair, I run my Pro Beauty Tools 1-1/4″ curling iron through it to create some waves and of course more volume and texture. I don’t actually hold the curls because I’m only trying to create waves so I just wrap the hair around the barrel and then let it fall.
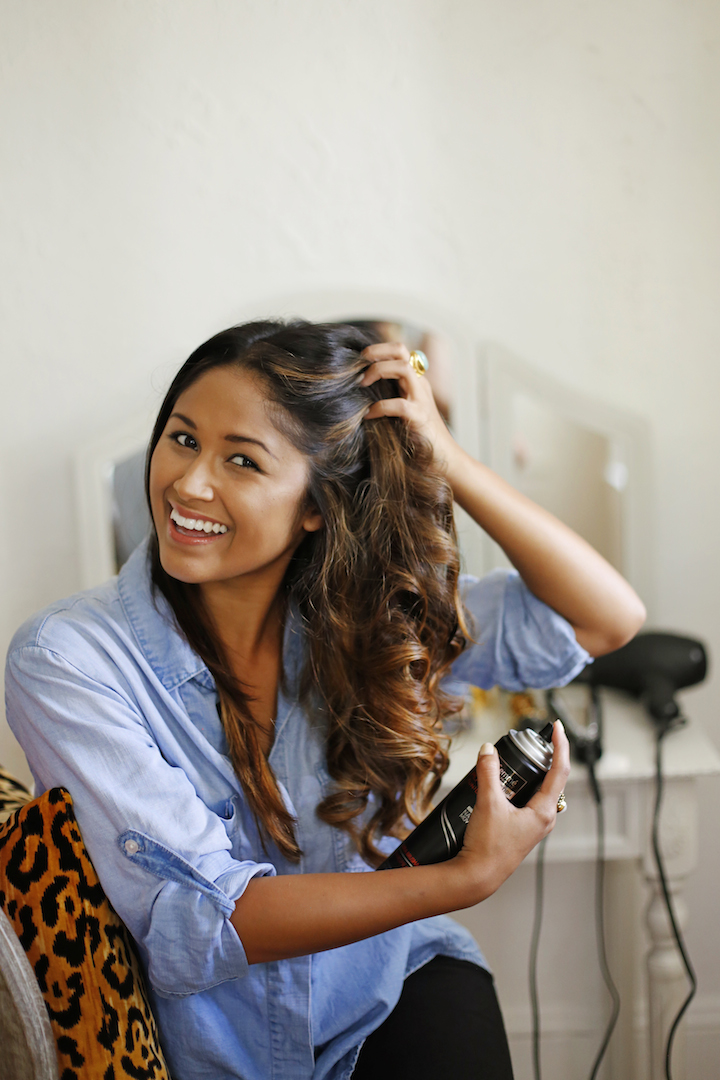
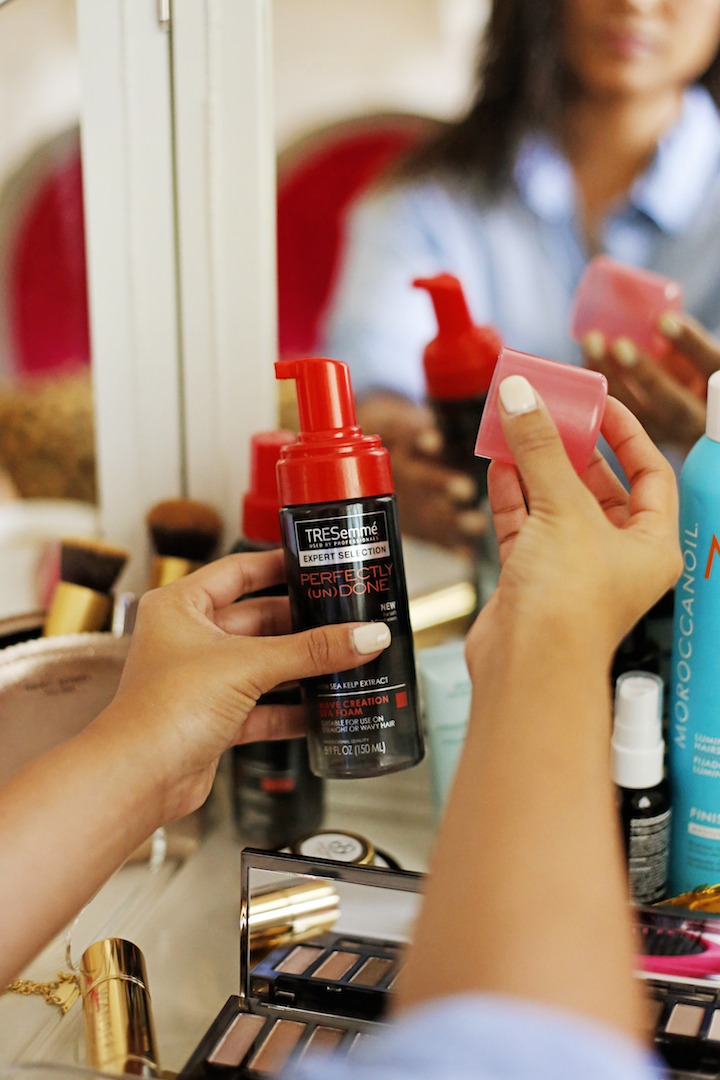
7) Also, I don’t spray each individual curl. I just spray TRESemme Perfectly (un)done hairspray on each section of hair like you see above.

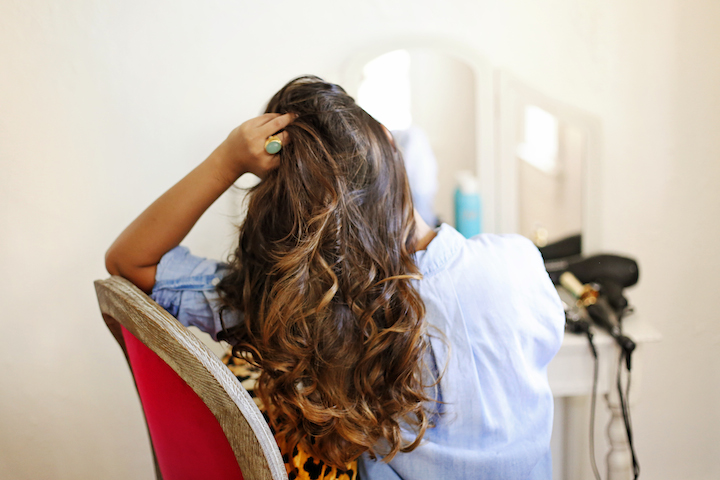
8) After I finish running the curling iron though my whole head, I finish it off with hairspray and then tease small sections at the crown.

9) Using a teasing comb, I start from the back and then work my way to the front.

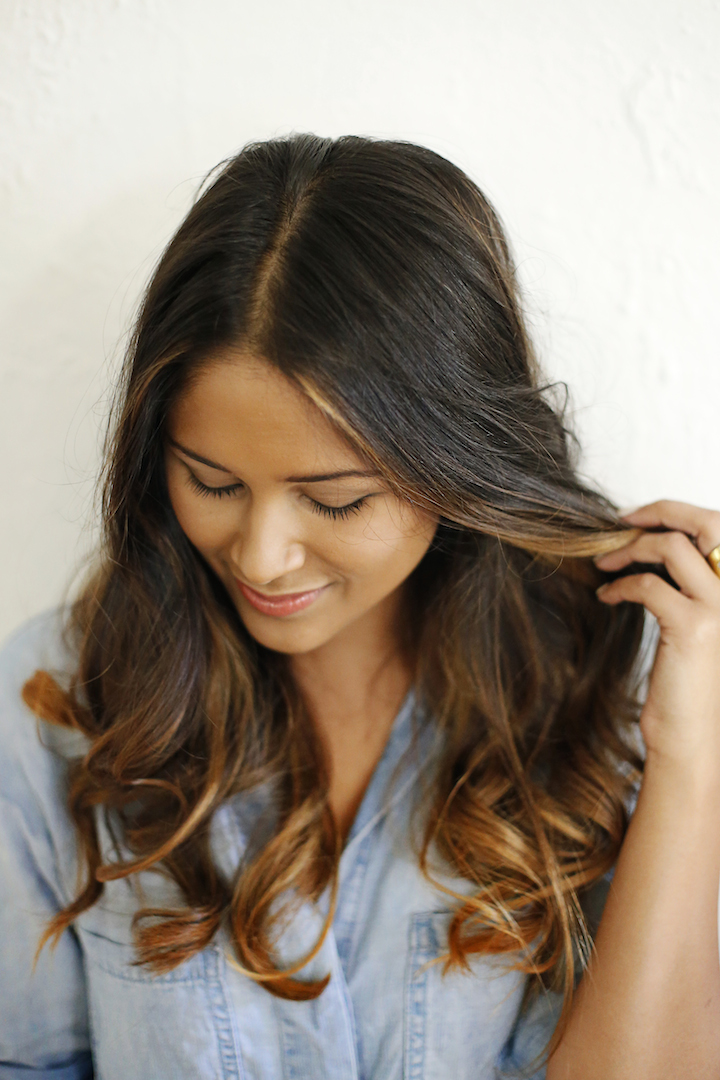
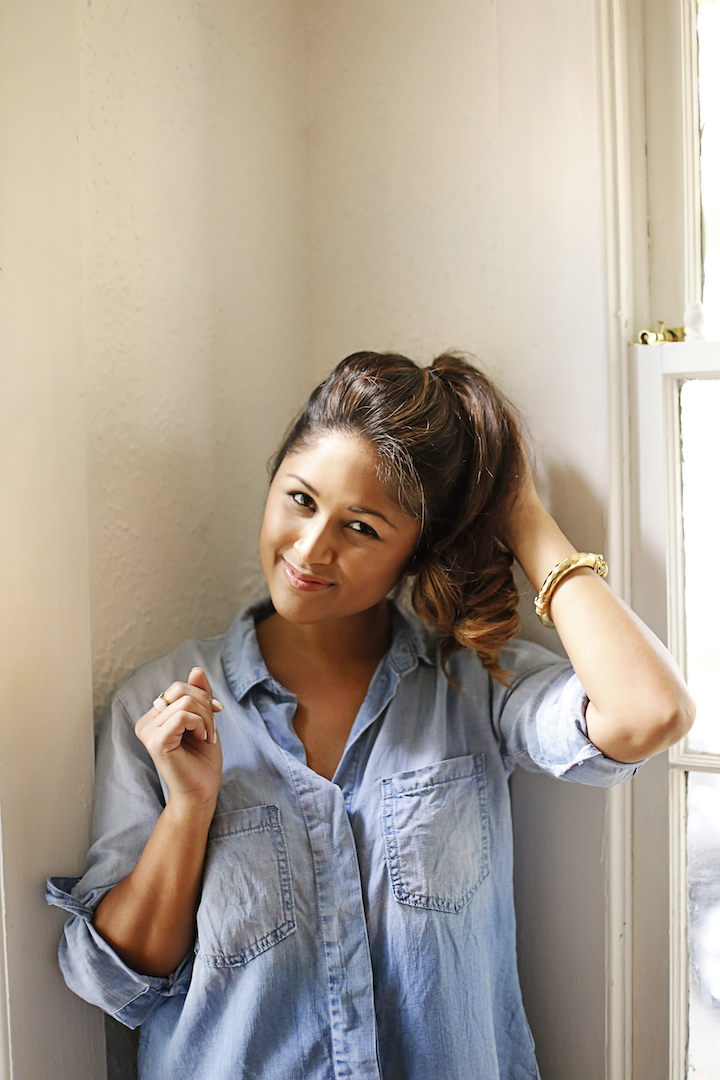
10) Once I get to this point, I usually second guess putting it up because I always think it looks and feels so much better down. However, I must finish what I started!
Before we move on, I must explain something. I used all of my own hair (no hair extensions) to create the stye I’m about to show you. My goal was to create a full perfect ponytail with length and volume. Since, I didn’t have much length to work with I had to get creative, which brings me to the next step…
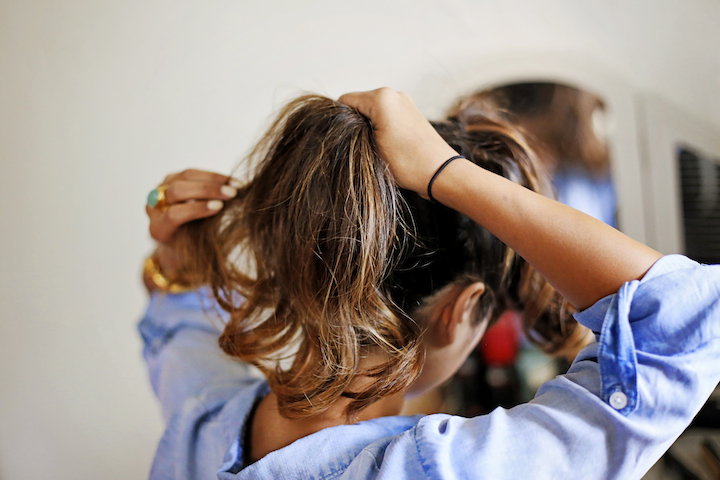
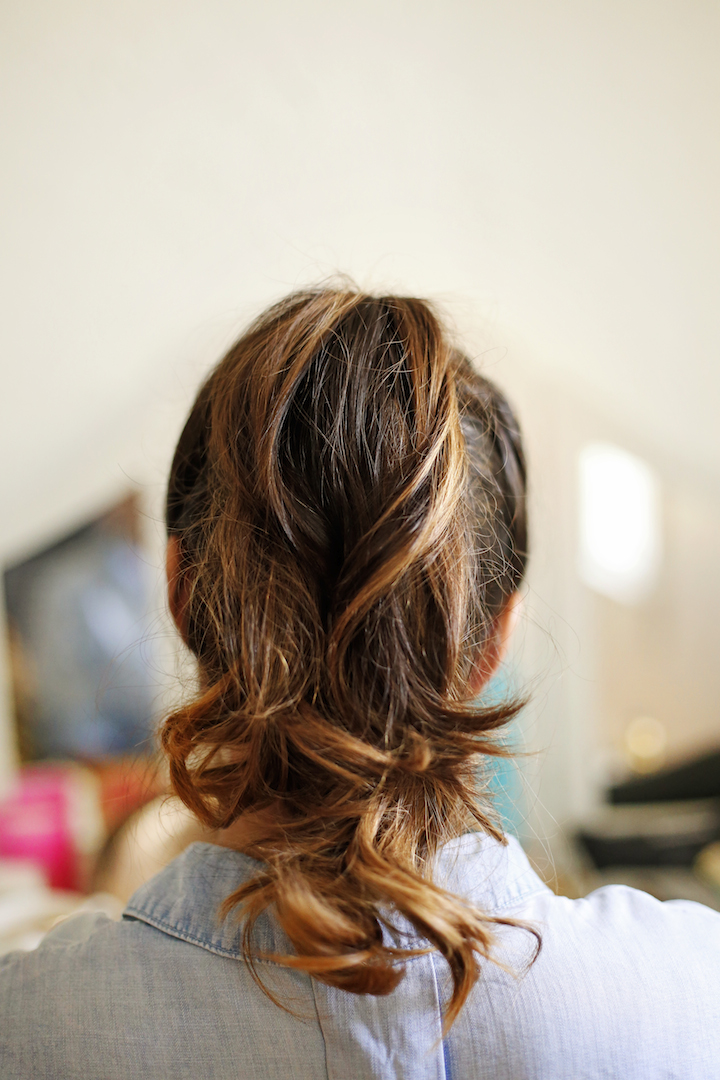
11) I pulled the top half of my hair into one section and wrapped it into a ponytail. Then I did the same thing to the bottom half.
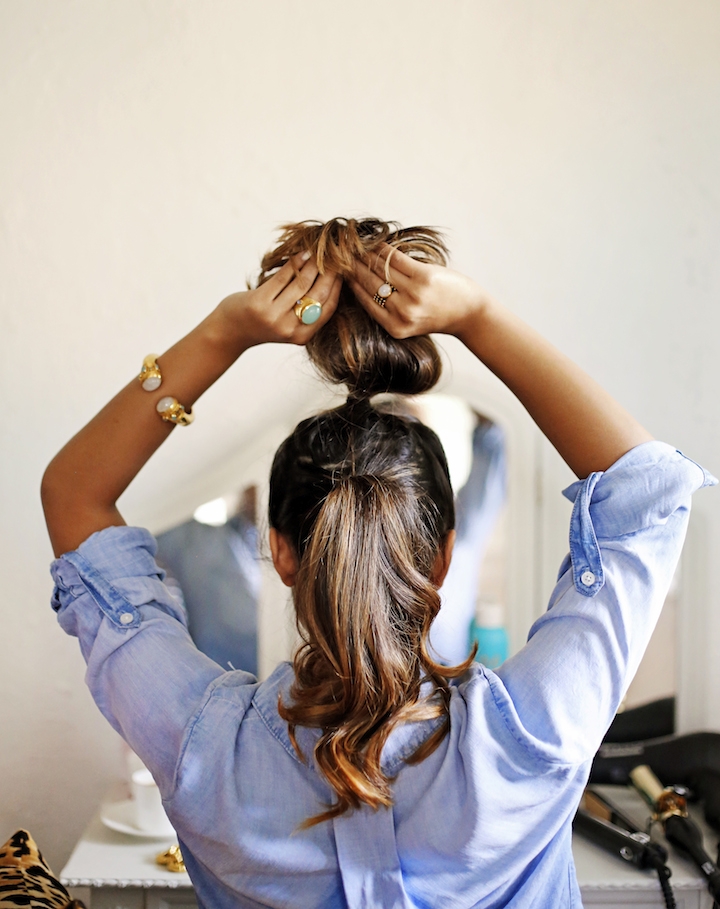
12) Next, I flipped the top ponytail over to cover the bottom ponytail. This helped the ponytail to appear longer.
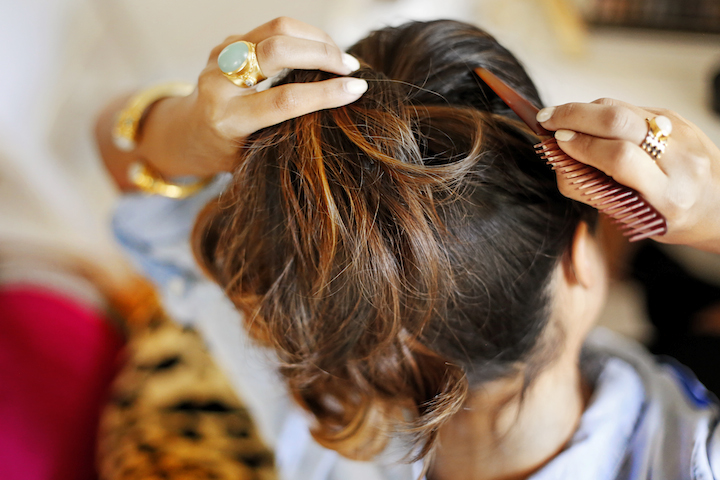
13) After I made the sure that bottom ponytail was completely covered by the top ponytail, I took the end of the comb to lift hair in front for more height and volume (see photo above).
14) Last but not least, I completed the style with plenty of TRESemme Perfectly (un)Done Hairspray! There you have it! That is my idea of a perfectly ponytail!
Photos by: Kaela Rodehorst Photography
| Shop This Post |

Outfit: Chambray Split Back Shirt c/o Bella Dahl | Ripped Jeans
All Jewelry c/o Julie Vos <–SALE Alert! Get 20% OFF w/ code: LSU20 | Acrylic NOLA Tray c/o The Elizabeth Chronicles
Good Morning readers, this is my first tutorial ever so I hope you liked it and found it helpful! I’d love to hear your feedback in a comment below!
Thank you to Pro Beauty Tools for bringing you this post. All opinions are my own.