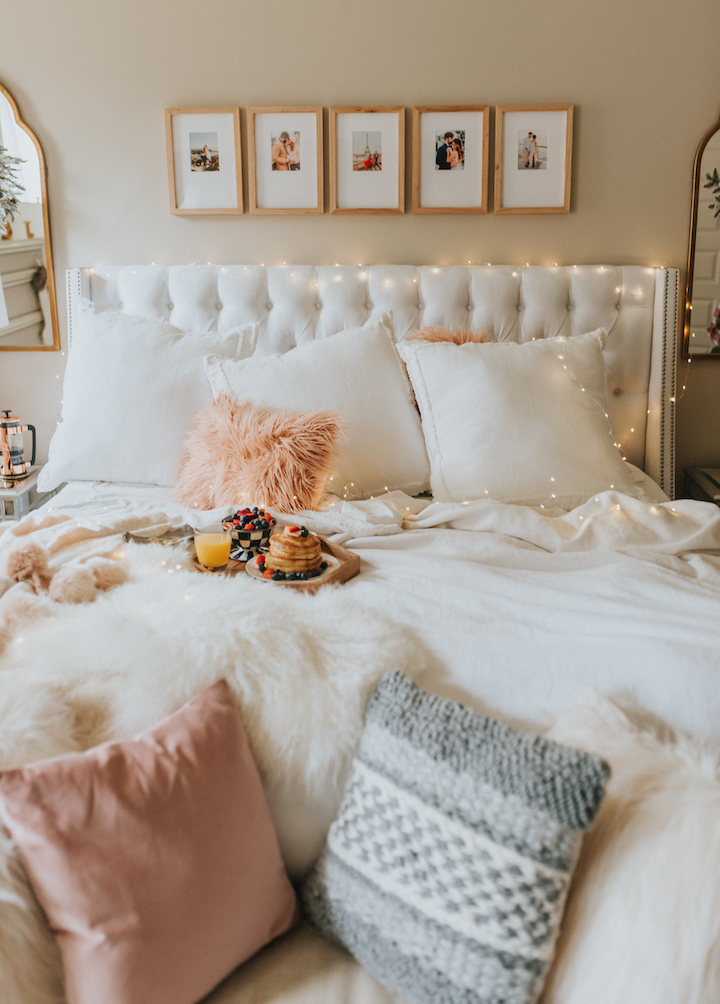
Happy Friday everyone, today I’m finally sharing the home decor post you’ve all been waiting for…my framed photo gallery walls. It’s been about 10 months since my wedding so I knew it was time to bite the bullet and print some wedding photos to display in my home. I had been putting it off because it’s so hard to decide which photos to choose and what the gallery wall will look like. Fortunately, Framebridge makes it super easy to select and envision your gallery wall. Their website allows you to choose a gallery style that fits with your space and then upload all of your high resolution photos to arrange them until you come to a look you love. Once you arrange your gallery wall, you can preview what the wall will look like before ordering. The Framebridge custom frames your photos and ships everything (including a life-size hanging guide!) to your door. Scroll through this post to see how!
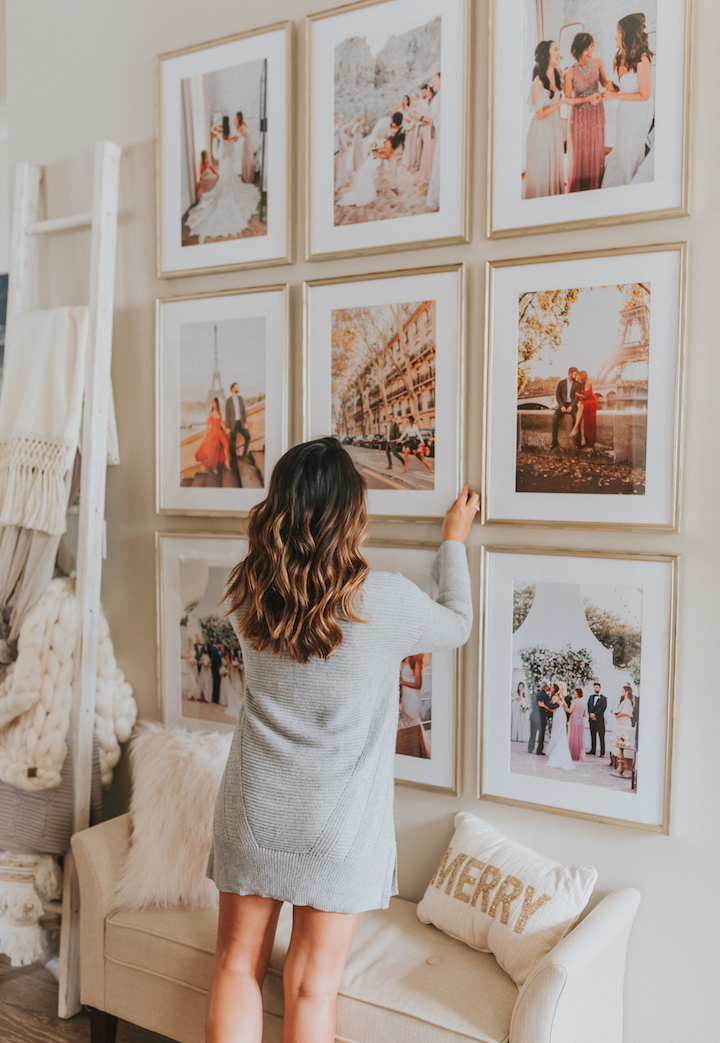
I’ve created my own gallery style walls with Framebridge before in my old house, but this time I wanted a more formal look so I choose two of their standard layouts: the floor to ceiling grid for my entry way and “the line” gallery to hang above my bed. While I love the look of the full floor to ceiling grid, I needed three large frames in another part of my house so I decided to separate three photos from the gallery, but I think it still think it looks amazing.
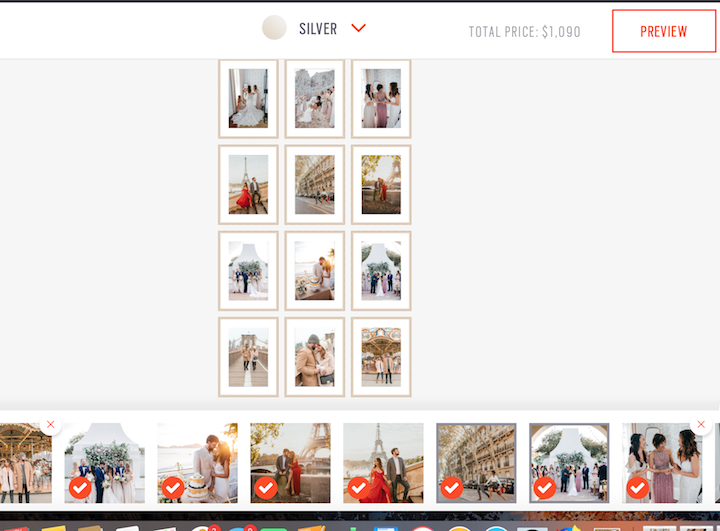
I took a screenshot of my online process with Framebridge so you could see how I was able to easily arrange my photos into an order that flowed together and made me smile. Once I moved all of the photos around a couple times, I was able to “preview” what the gallery would look like. See screenshot below.
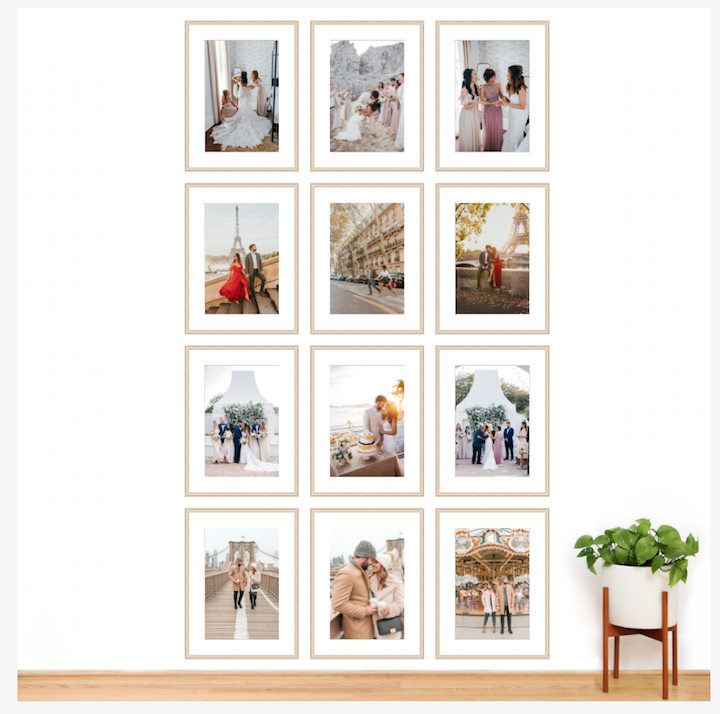
I moved the bottom three photos somewhere else in my home, which I will show you later in my home tour post in January.
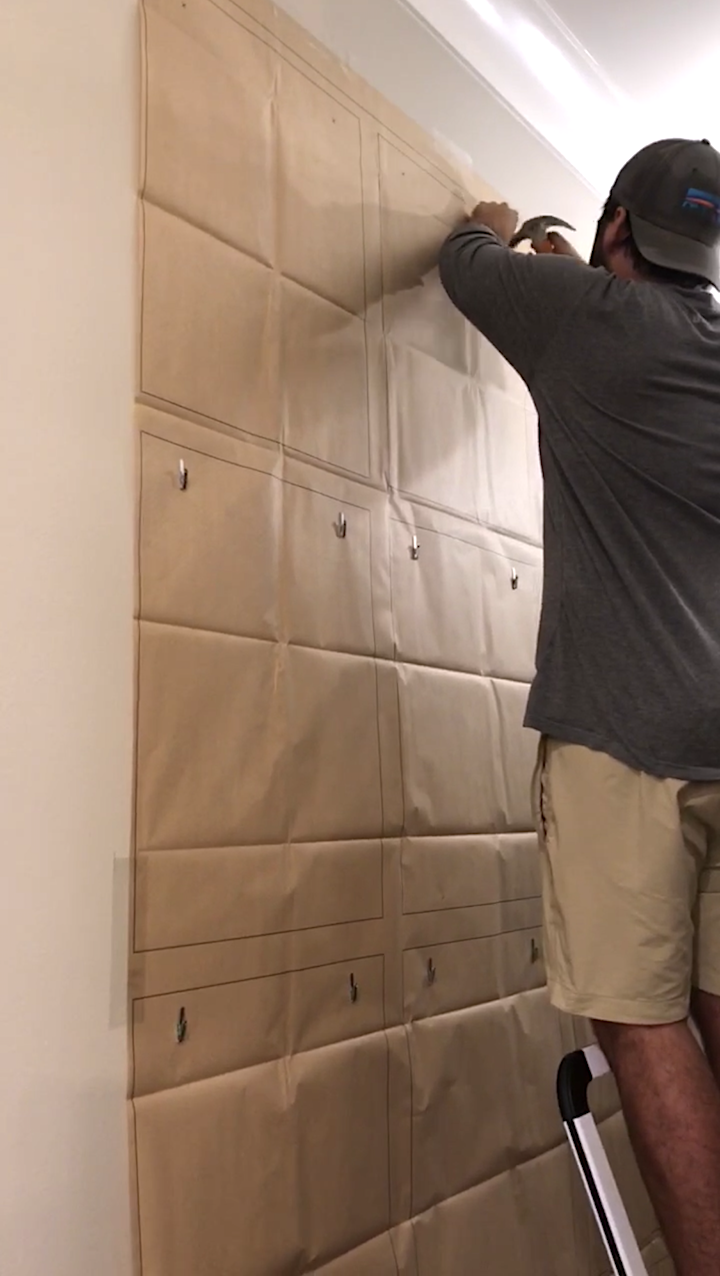
How did we hang the photos so perfectly you ask? It was an even easier than you can imagine. Framebridge ships your professionally framed photos to you along with a hanging tool kit, which comes with everything you need minus the hammer and tape measurer. It comes with all the correct nails and pieces for each frame along with a paper grid that you can hang on your wall wherever you want to hang the gallery. Then you hammer all of the nails into the X marks and rip the paper down once you’re ready to hang. It was the easiest hanging process I’ve ever experienced, which I was super grateful for because it was stress free and very rewarding at the end.
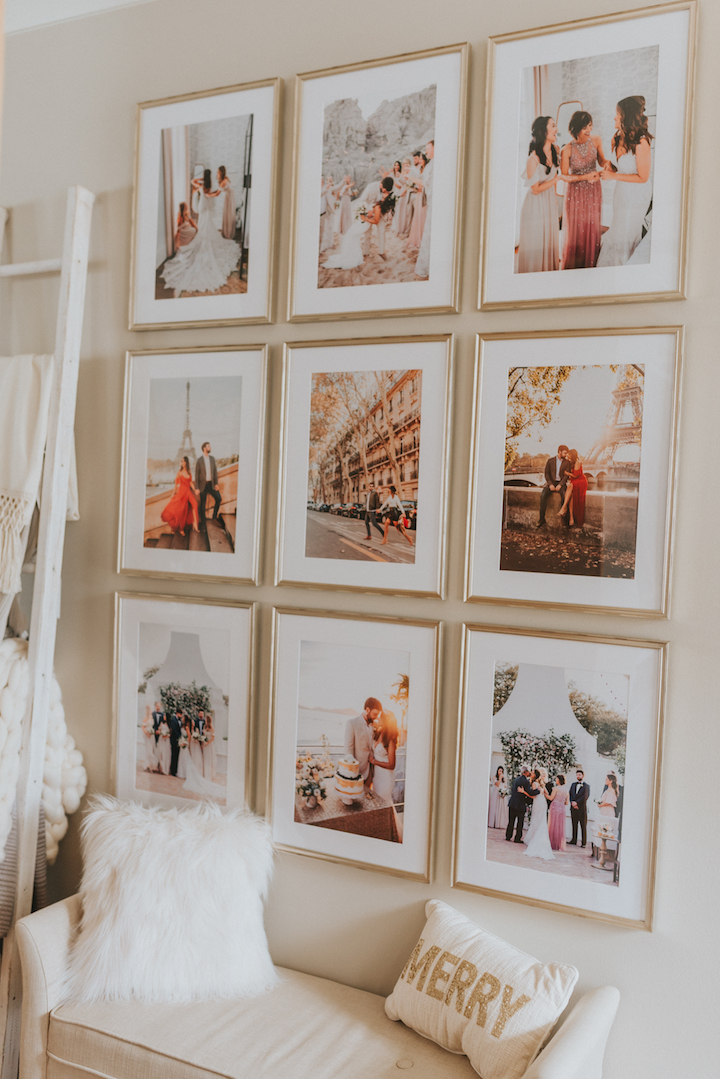
My exact frames are from the floor to ceiling grid | You can find my bench available here!
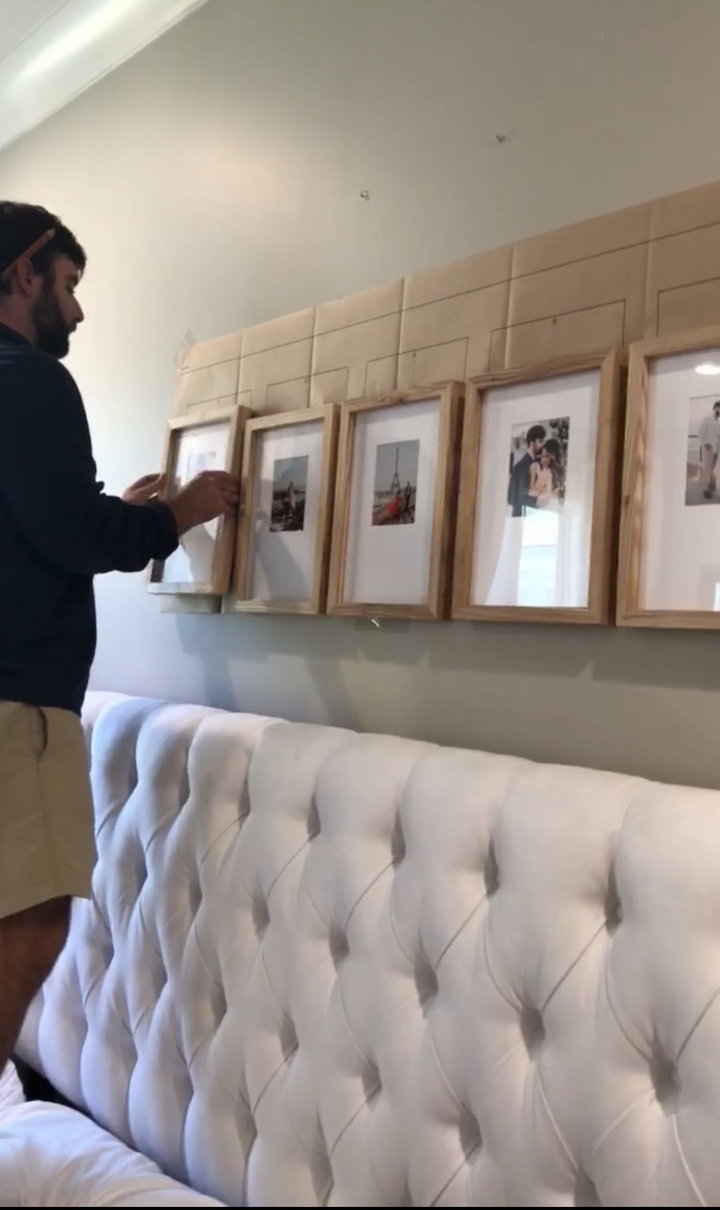
The bedroom gallery wall was an even easier process because it was just a straight line , but we used still used the paper grid anyway to avoid making any of the photos too closer together or too far apart. Check out “The Line” gallery above my below.

| Shop My Home Decor |
Home Decor Details: Storage Settee Bench | Solana Shams | Solana Duvet Cover | Similar Upholstered Bed | Gold Arch Wall Mirror | Similar Nightstand | Oversized Blush Mongolian Faux Fur Lumbar Pillow | Prisha Rug | Faux Fur Throw | Curtains | “The Line” gallery c/o Framebridge | Lamp c/o Lamps Plus
Christmas Decor: Pre-lit Mini Christmas Tree | Mini Sweets Ornament Set | Mini Wine Ornament Set |Pencil Christmas tree found at Hobby Lobby | Fairy String Lights

| Shop My Loungewear |
outfit: Caslon® Ribbed Turtleneck Tunic Sweater (Regular & Petite) | UGG® Cable Knit Over the Knee Socks | Shearling Slipper (similar here)
